I love drinking matcha green tea whether cold or hot. Studies have shown that matcha green tea contains antioxidants and other health benefits such as boosting concentration and cognition. It can also be incorporated with your meals and desserts.

This is originally a cream cheese brownie recipe I saw on my low-carb FB group but I used Matcha Collagen to replace chocolate. I also increased the amount of vanilla and used coconut flour instead of almond. Then, I rewrote the recipe according to the way I made it.
This turned out so creamy and the matcha flavor blended well with the cheesecake. I brought it to work and shared some with my friends. I hope you’ll enjoy it as much as we did.
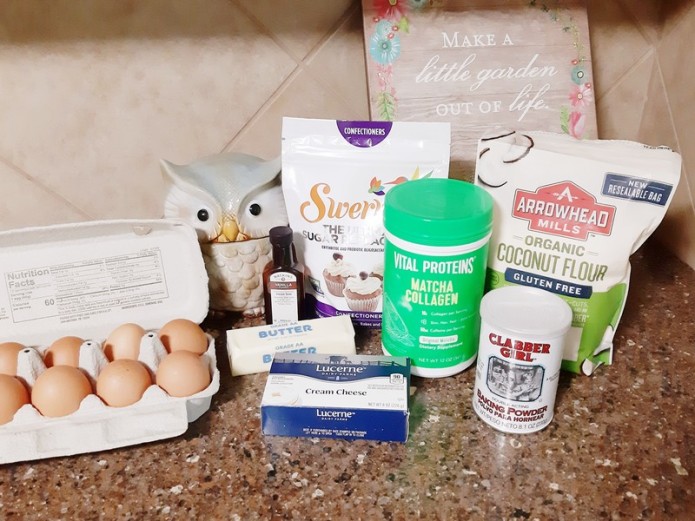
INGREDIENTS
CREAM CHEESE
8 oz cream cheese
1 Large egg
2 tsp vanilla extract
1/4 cup Swerve confectioners sweetener
MATCHA MIX
2 Large eggs
1/4 cup erythritol or Swerve confectioners
6 tbsp unsalted butter
2 scoops of Vital Proteins Matcha Collagen
1 tsp vanilla extract
1/2 tsp salt
1/2 tsp baking powder
1/4 cup coconut flour
INSTRUCTIONS
1. Preheat oven to 350 degrees F and grease an 8 x 8 square or round pan with unsalted butter.
2. Place cream cheese in a microwave-safe medium bowl and microwave for 30 seconds to soften. Beat cream cheese until creamy, then blend in egg, vanilla and erythritol or Swerve confectioners sweetener. Set aside.
3. Prepare the matcha filling in a separate large bowl and beat eggs until they are light and frothy. Add erythritol, blend well and let stand for 5 minutes.
4. In a small bowl, melt unsalted butter in the microwave for 30 seconds to a minute.
5. Add vanilla, salt, baking powder, and butter to the large bowl with blended eggs while constantly stirring and then slowly add in coconut flour. Mix ingredients thoroughly.
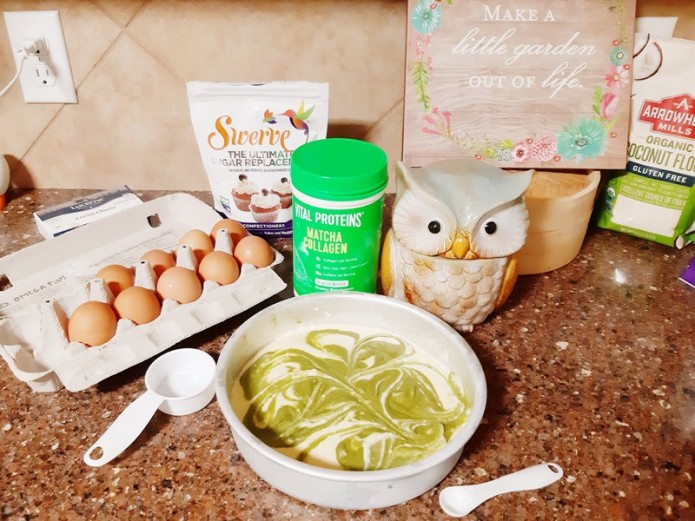
6. Then spread 3/4 of the matcha filling into the greased pan.
7. Spoon the cream cheese mixture on top and spread evenly in the pan.
8. Place the remaining matcha mixture on top of the cream cheese layer and create swirls or a marbled look.
9. Bake 20-25 minutes. Let it cool and refrigerate for an hour before serving.
My Fitness Pal Recipe Maker

Disclaimer: This blog post contains affiliate and referral links.
Any purchases made through such links may reward me with a
small commission in the event of a subscription or sale but at NO EXTRA COST FOR YOU.
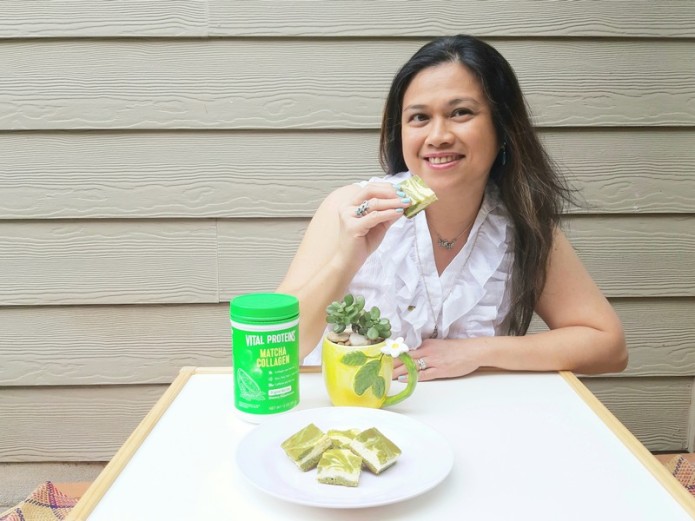


I tried these, and they are outstanding! None of that bitter sugar-free nastiness here. They don’t taste healthy, but they are. You can feel guilty, without the guilt.
I’m glad you liked it. 🙂